Without a time restraint in the beginnings of this project, I simply followed a system of applying Corrosion Cracker to all four of the stuck slides of this Yamaha YBB 105 tuba, after using a drift punch of appropriate size or a slide hammer with heat applied to the relevant areas to attempt to remove the steadfast tubes. This went on for a month and then I switched to the woodwind lab for a go at saxophones. I continued to visit the tuba with, at the very least, applications of the Cracker and the occasional go with the slide hammer for the next 8 weeks.
 |
| Ol' Driffty tryin' to work some magic |
Upon returning to the brass lab and at the request of the customer, I began to concentrate harder on this stubborn character. I began a vigorous return to the old system and, clearing it with my boss and the customer, I introduced a dip in the ultra sonic cleaner, hoping to provide more encouragement in the unstuck direction. I'm sure it helped, although initially nothing was moving towards completion...
 | ||
| Tough to see, but the smokey looking areas are gunk and Corrosion Cracker |
I cycled through many helpful classmates assisting me in bracing the tuba or heating the slides while I attempted to pull them.
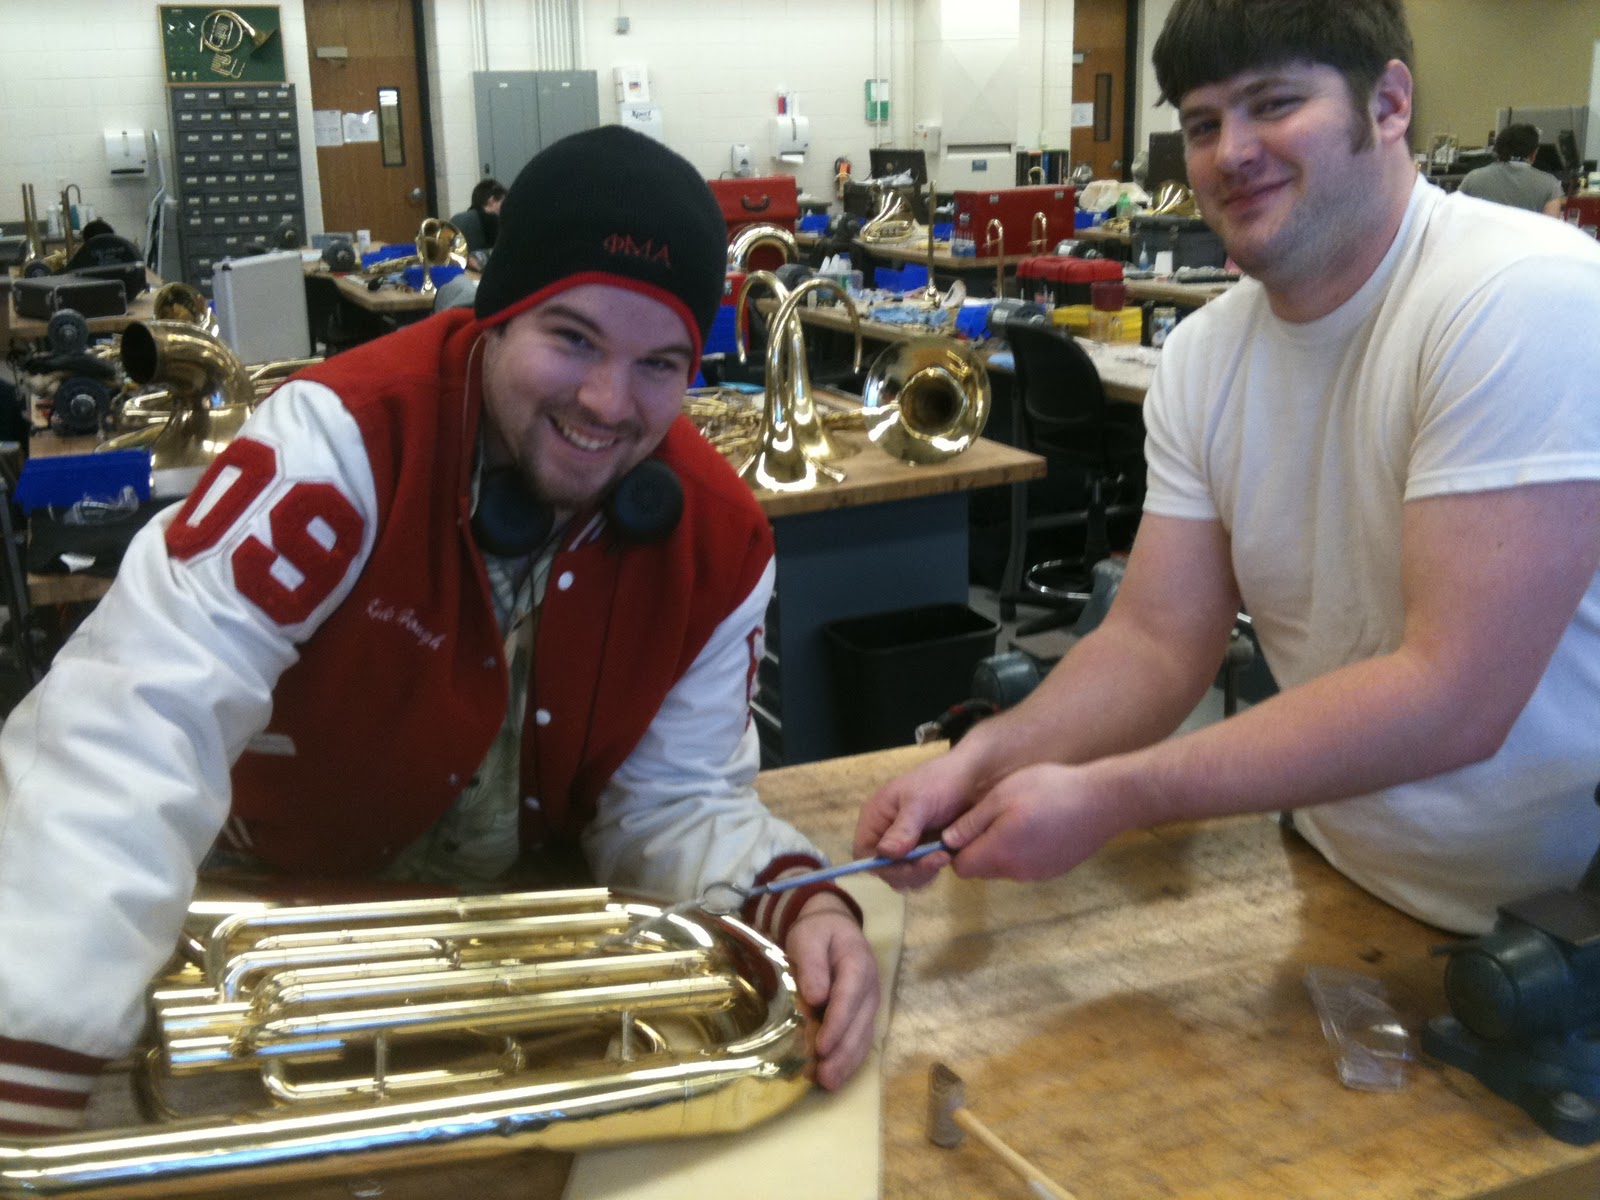 |
| Jesse and Kyle having a go! |
Little by little, day by day...
 |
| At last, the first slide came undone! |
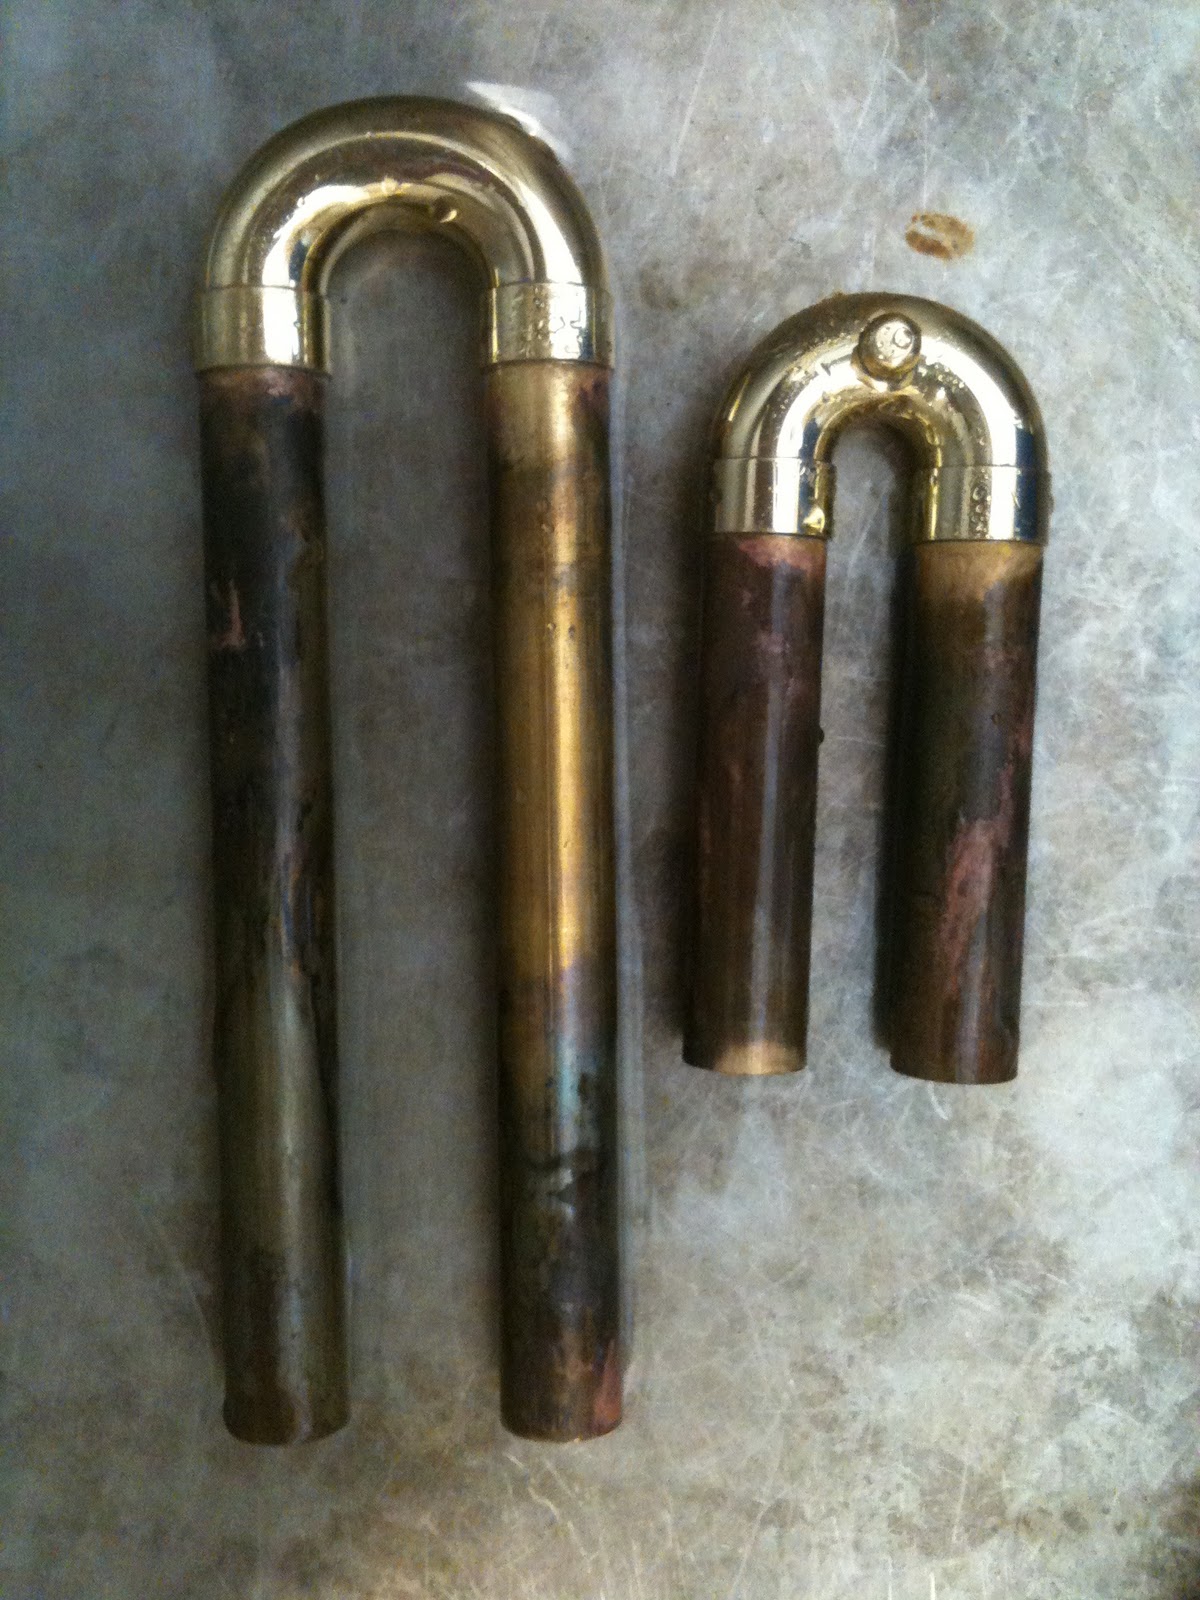 |
| Hazzah! 1st and 2nd! (main tuning slide pulled but not pictured) |
And the last slide remaining was not the least bit surprising. This goofy design for the 3rd slide to keep it condensed for the player proves to be a worthy advisory. Issues include: Lots of braces that can break, 2 crooks to deal with, lots of surface area, and a slight dent in the outer tuning slide of the one closest in the picture below.
 | ||||
| First step was un-soldering and moving the brace into a non-obstructing area |
In the video above is an example of what happened when I removed the first crook from the slide. What is pictured is literally about a 10th of the actual size of the fireball produced from the penetrating oil being applied for months on end... It was awesome!!! And it singed my hair.
 |
| Who knew working on a tuba would make you feel so alive! |
Back to the biz...
 |
| The brace was also removed |
 |
| Turned a chunk of brass down to fit inside the farrel |
Success!
After the removal of all the inner slides, it was time to rebuild and spot lacquer!
 |
| Almost there! |
Alas, in my excitement of the success, I neglected to get a final picture of the slide... HA! It turned out great and all were happy. Go ahead, call Stephanie. I tell no lies!
I also discovered rebounding with the Magnetic Dent Remover and the magic it brings to abundantly difficult dents in those hard to reach places! I just centered the ball where it needed to be, lifted the magnet away from the dent ball (obviously not removing it from the scene, just creating space and tension), and struck the back of the magnet with a mallet. It worked beautifully! I have no pictures because it is strongly advised to leave your phones away from the MDRS system or bad things may happen...
This tuba got me thinking... Maybe being a low brass tech could be sweet!?!?! As long as the explosions keep coming, I'll consider it... Safety first!
This is a great walkthrough! Keep up the good work!
ReplyDelete